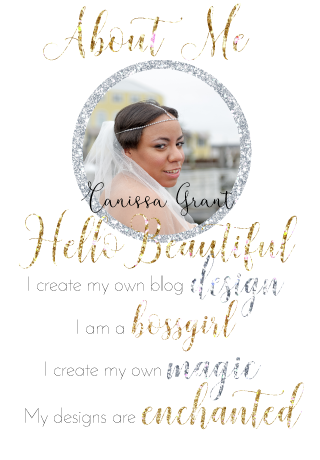
Creating a bio in your sidebar introduces you to your readers and makes a great first impressions. I wanted to create a very whimsical and feminine bio for my readers to enjoy. I created all of my design elements in Adobe Illustrator CC. I absolutely love Illustrator! It makes it so easy to create amazing images. I advise anyone who wants to design their own blog to us Illustrator for their images. Then, I imported the image into my blogger using the "Image" widget. The "Image" widget can be found in "Layout" > "Add a Gadget"> "Image". See my beautiful bio below.
One of the issues I ran into was sizing. When I first uploaded my image, it was too small for the sidebar. I thought I had to fix the code, but I found out that I made the bio too larger for the sidebar. You can adjust the sidebar using the "Template" > "Customize" >Adjust Widths. Make sure you look at the "Right Sidebar" and see the width of the sidebar. I used this width to size my image in Illustrator. Once I had the correct width, the image was the right size in the sidebar.

I have seen many tutorials on how to add images to sidebars, but I have not found an instructional that tells people how to install their images. I have discovered some very easy steps on how to upload images to your sidebar. The first thing is to write the code.
<img src= "add html link here"/>
You need to add a "HTML/Java" gadget to you sidebar. Enter in the code below into the gadget. I upload all of my images to Photobucket and it creates an HTML link for all of my images. I copy the HTML link from the Photobucket page and paste into into the code and it save.
Now that you have created a beautiful image for your bio, share you blog with the world!











No comments